![Building a Self-Service Kiosk - Step by Step [full code]](/_next/image?url=%2Fimages%2Fblog%2Fstarwars-browser%2Fblog_bg.jpg&w=2048&q=75)
Building a Star Wars Character Browser Kiosk Application: A Comprehensive Guide
KioskEngine Team•18/02/2025•18min
In our previous article about kiosk development best practices, we explored essential technical considerations for building modern kiosk applications. Now, let's put these principles into practice by creating a real-world example: a Star Wars Character Browser kiosk application. This project will demonstrate how to implement these best practices while building an interactive kiosk that fetches and displays character data from the Star Wars API (SWAPI). This comprehensive guide will walk you through the process, from setting up the development environment to deploying the application using Kiosk Engine. The complete source code for this project is available on GitLab at https://gitlab.com/kiosk-engine-io/star-wars-browser.
1. Getting Started: Repository Setup and Installation
The Star Wars Character Browser application is publicly available on GitLab. You can find the complete source code at https://gitlab.com/kiosk-engine-io/star-wars-browser. Here's how to get started:
- After installation, you'll find the following key files in your project structure:
bash
1# Clone the repository
2git clone https://gitlab.com/kiosk-engine-io/star-wars-browser.git
3
4# Navigate to project directory
5cd star-wars-browser
6
7# Install dependencies
8npm install
9
10# Start development server
11npm run dev
12
13# Build for production
14npm run buildstar-wars-browser/
├── app/
│ ├── character/
│ │ └── [id]/
│ │ └── page.tsx
│ ├── components/
│ │ ├── KioskWrapper.tsx
│ │ ├── CharacterCard.tsx
│ │ ├── CharacterList.tsx
│ │ └── LoadingSkeleton.tsx
│ ├── layout.tsx
│ └── page.tsx
├── lib/
│ ├── api.ts
│ └── types.ts
├── styles/
│ └── globals.css
├── next.config.js
├── package.json
├── tailwind.config.js
└── tsconfig.json
2. Technology Stack and Tools
The application leverages modern web technologies to create a robust and maintainable codebase. Here's our package.json configuration:
- Each dependency serves a specific purpose: - Next.js 14 for the application framework - TypeScript for type safety - Tailwind CSS for styling - React Query for data fetching - Framer Motion for animations - Radix UI for accessible components
json
1{
2  "dependencies": {
3    "next": "^14.0.0",
4    "react": "^18.2.0",
5    "react-dom": "^18.2.0",
6    "@tanstack/react-query": "^4.0.0",
7    "tailwindcss": "^3.3.0",
8    "framer-motion": "^10.0.0",
9    "@radix-ui/react-navigation-menu": "^1.0.0"
10  }
11}3. Build Configuration and Static Generation
The application is configured as a static web app using Next.js export. Here's our next.config.js configuration:
- This configuration enables: - Static HTML export with `output: 'export'` - Unoptimized images for static hosting - Remote image patterns for SWAPI integration
javascript
1/** @type {import('next').NextConfig} */
2const nextConfig = {
3  output: 'export',
4  images: {
5    unoptimized: true,
6    remotePatterns: [
7      {
8        protocol: 'https',
9        hostname: 'swapi.dev',
10      },
11    ],
12  },
13};
14
15module.exports = nextConfig;4. Kiosk-Specific Features and Optimizations
Several kiosk-specific features have been implemented to ensure a robust user experience. Here's our KioskWrapper component:
- Key features implemented: - 60-second inactivity timeout - Touch and mouse movement detection - Automatic navigation to home page - Event cleanup on component unmount
typescript
1// app/components/KioskWrapper.tsx
2'use client';
3
4import { useRouter } from 'next/navigation';
5import { useEffect, useCallback } from 'react';
6
7const IDLE_TIMEOUT = 60000; // 60 seconds
8
9export function KioskWrapper({ children }: { children: React.ReactNode }) {
10  const router = useRouter();
11
12  const resetIdleTimer = useCallback(() => {
13    localStorage.setItem('lastActivity', Date.now().toString());
14  }, []);
15
16  useEffect(() => {
17    const interval = setInterval(() => {
18      const lastActivity = parseInt(localStorage.getItem('lastActivity') || '0');
19      if (Date.now() - lastActivity > IDLE_TIMEOUT) {
20        router.push('/');
21      }
22    }, 1000);
23
24    window.addEventListener('touchstart', resetIdleTimer);
25    window.addEventListener('mousemove', resetIdleTimer);
26
27    return () => {
28      clearInterval(interval);
29      window.removeEventListener('touchstart', resetIdleTimer);
30      window.removeEventListener('mousemove', resetIdleTimer);
31    };
32  }, [router, resetIdleTimer]);
33
34  return <div className="kiosk-wrapper">{children}</div>;
35}5. Data Fetching and API Integration
The application integrates with the Star Wars API (SWAPI) to fetch character data. Here's how we implement data fetching:
- Key features: - React Query for data fetching and caching - TypeScript interfaces for type safety - Loading and error states - Optimistic UI updates
typescript
1// app/character/[id]/page.tsx
2import { useQuery } from '@tanstack/react-query';
3
4interface Character {
5  name: string;
6  height: string;
7  mass: string;
8  birth_year: string;
9  // ... other properties
10}
11
12async function fetchCharacter(id: string): Promise<Character> {
13  const response = await fetch(`https://swapi.dev/api/people/${id}`);
14  if (!response.ok) throw new Error('Failed to fetch character');
15  return response.json();
16}
17
18export default function CharacterPage({ params }: { params: { id: string } }) {
19  const { data, isLoading, error } = useQuery(['character', params.id],
20    () => fetchCharacter(params.id)
21  );
22
23  if (isLoading) return <LoadingSkeleton />;
24  if (error) return <ErrorDisplay error={error} />;
25
26  return (
27    <div className="character-details">
28      <h1>{data.name}</h1>
29      {/* Character details */}
30    </div>
31  );
32}6. User Interface Enhancements
Special attention was paid to creating an engaging and responsive user interface:
- UI enhancements include: - Disabled text selection and tap highlights - Smooth hover and tap animations - Responsive card layouts - Touch-optimized interactions
typescript
1// styles/globals.css
2@layer base {
3  html {
4    -webkit-tap-highlight-color: transparent;
5    user-select: none;
6  }
7}
8
9@layer components {
10  .character-card {
11    @apply relative p-6 rounded-lg shadow-lg transition-transform;
12    transform-style: preserve-3d;
13    perspective: 1000px;
14  }
15
16  .character-card:hover {
17    @apply transform scale-105;
18  }
19}
typescript
1// app/components/CharacterCard.tsx
2import { motion } from 'framer-motion';
3
4export function CharacterCard({ character }: { character: Character }) {
5  return (
6    <motion.div
7      className="character-card"
8      whileHover={{ scale: 1.05 }}
9      whileTap={{ scale: 0.95 }}
10      initial={{ opacity: 0 }}
11      animate={{ opacity: 1 }}
12      exit={{ opacity: 0 }}
13    >
14      {/* Card content */}
15    </motion.div>
16  );
17}7. Hardware Setup and Deployment
The application was deployed on specific hardware using Kiosk Engine:
- If you need guidance on installing and configuring Kiosk Engine and its kepOS operating system, you can follow our detailed guide at How to Install and Activate kepOS: A Step-by-Step Guide.
# Display Specifications
- iiyama ProLite 27' touchscreen
- Resolution: 1920x1080
- 10-point touch capability
# Computer Specifications
- Intel MiniPC M9
- Intel Core i5 processor
- 8GB RAM
- 256GB SSD
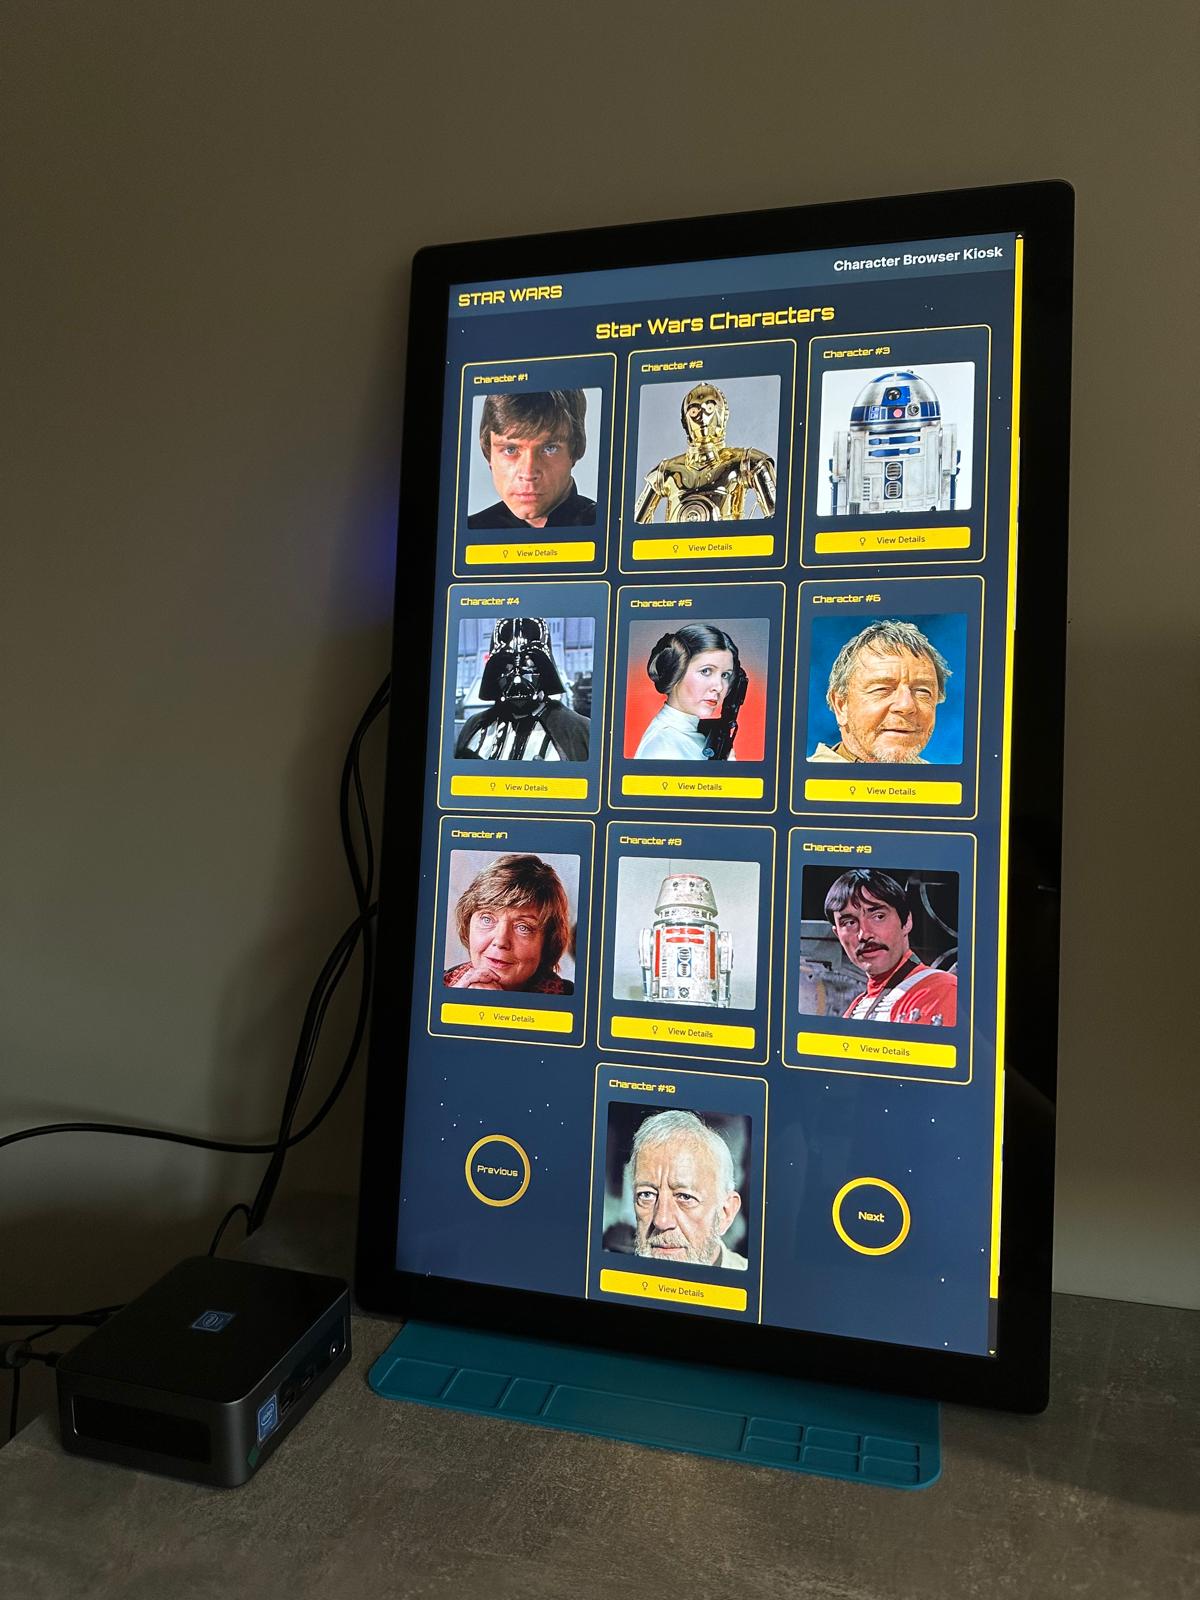
8. Application Demo
Here's a visual showcase of the Star Wars Character Browser application, demonstrating its key features and user interface:
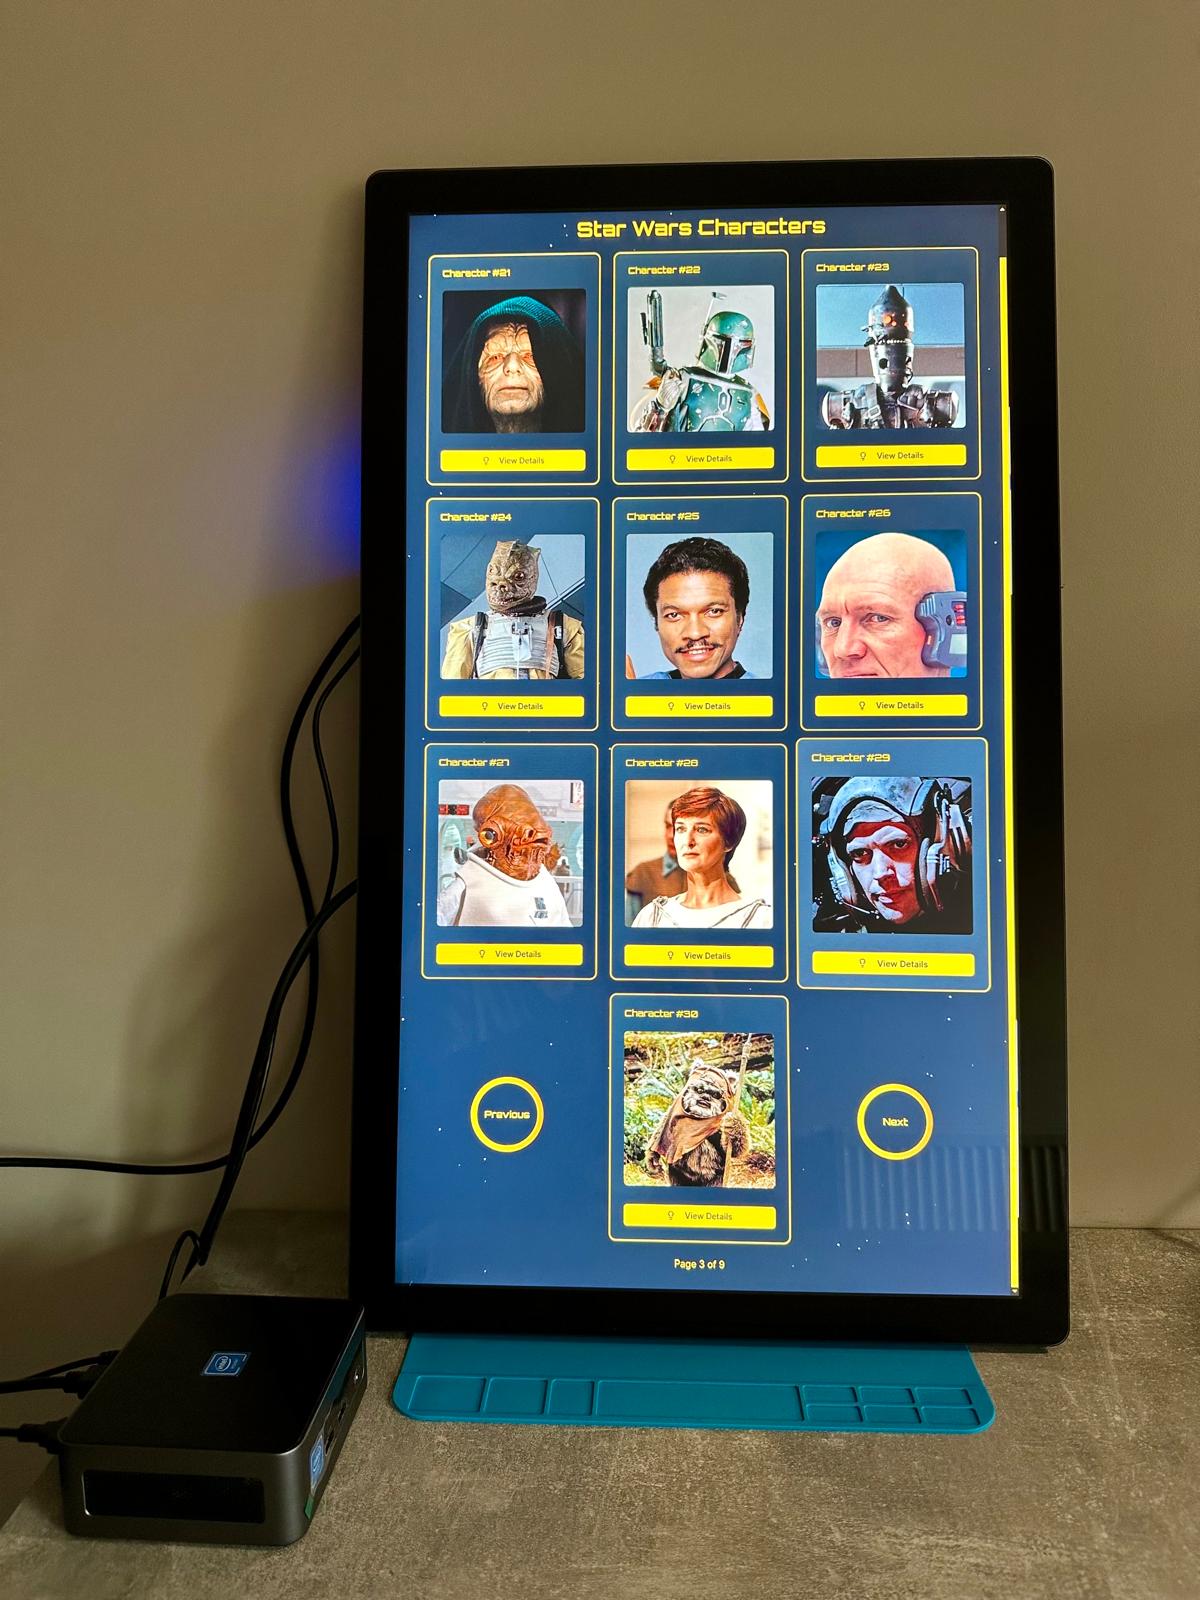
Home screen with character cards layout
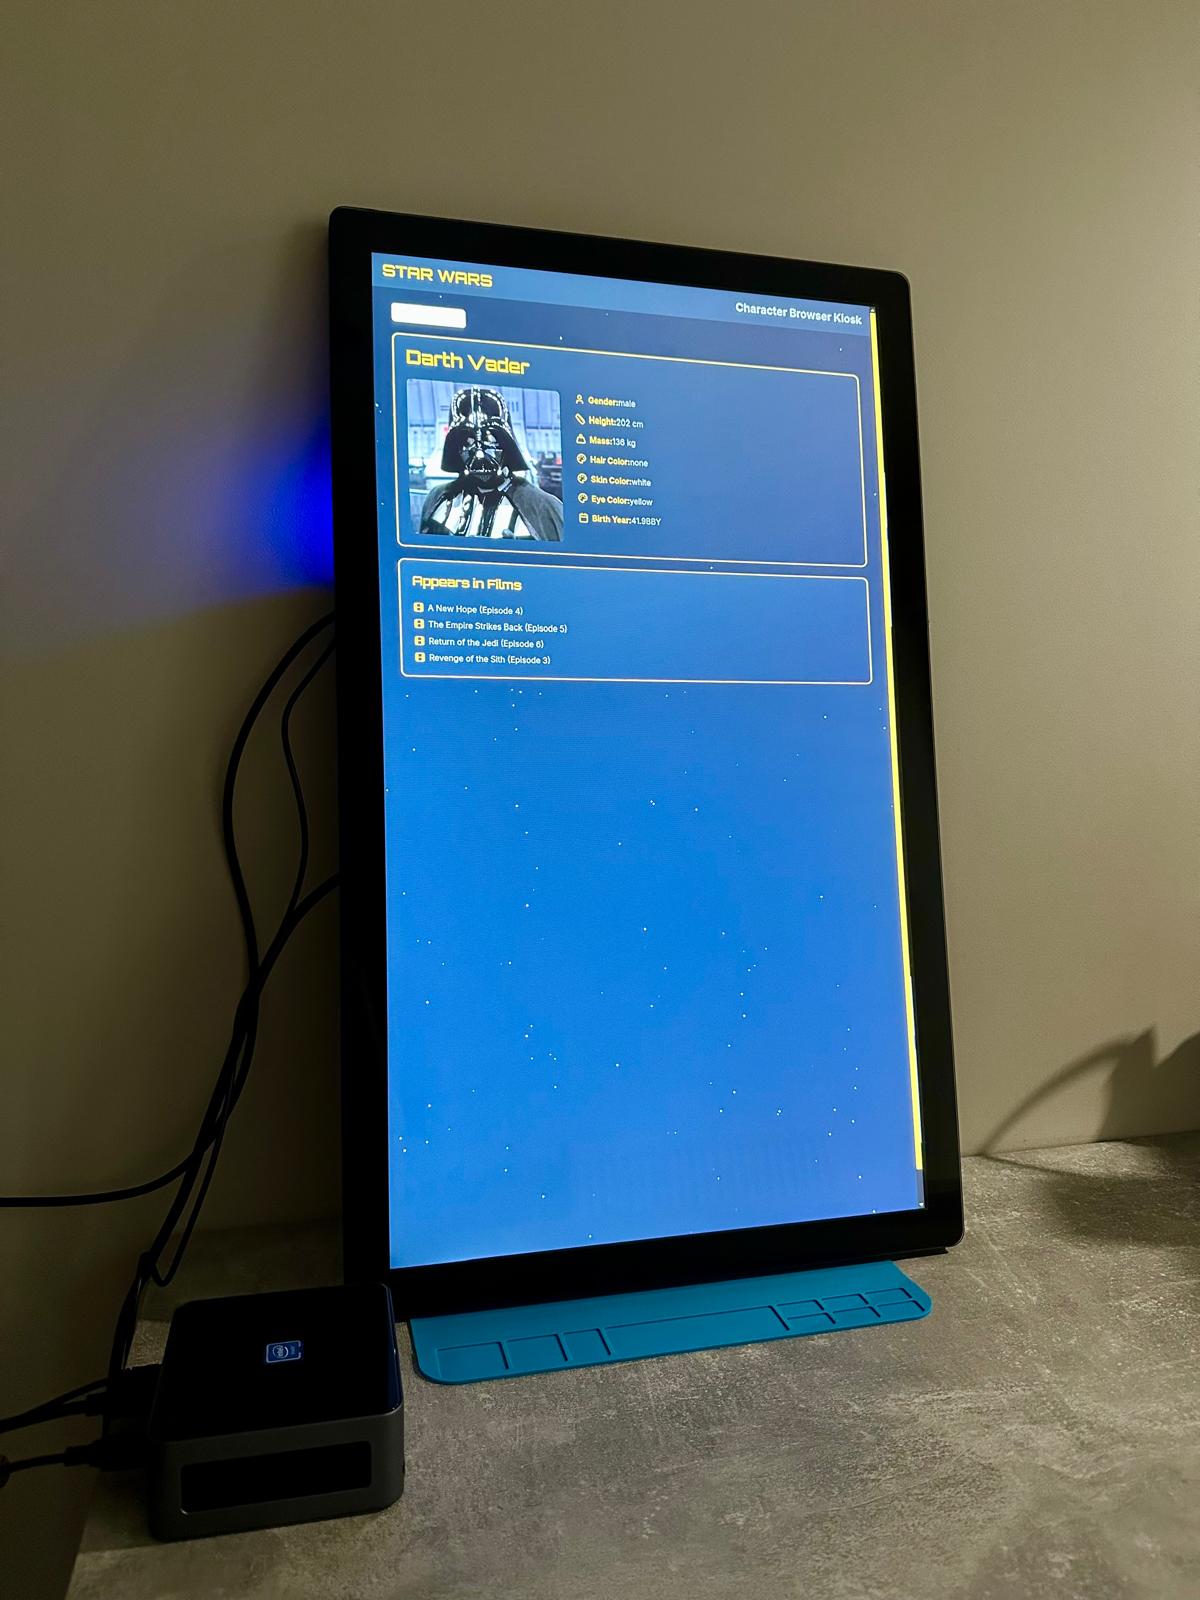
Detailed character information view
Interactive search interface with real-time results
Demo video showing the application's smooth navigation and interactive features
9. Deployment to Kiosk Engine Platform
After building the application, we need to prepare and deploy it to the Kiosk Engine Platform:
- The deployment process consists of these steps:
- 1. Build the application using `npm run build`, which creates a `dist` directory containing the static files
- 2. Create a compressed archive (e.g., `.tar`) of all files in the `dist` directory
- 3. Navigate to the Kiosk Engine Platform Apps Dashboard and log in
- 4. Upload the archive using the platform's interface
- 5. Select the target kiosk device and deploy the application
bash
1# Build the application
2npm run build
3
4# Navigate to the dist directory
5cd dist
6
7# Create a tar archive
8tar -czf ../star-wars-browser.tar .
9
10# Return to project root
11cd ..# Deployment Steps in Kiosk Engine Platform
1. Log in to Kiosk Engine Platform
2. Navigate to Apps section
3. Click 'Upload New App'
4. Select the tar archive (star-wars-browser.tar)
5. Configure app settings:
- Name: Star Wars Browser
- Type: Static WebApp
6. Select target kiosk device
7. Click 'Deploy'
Need help with kiosk development?
Contact us to discuss your project and how we can help youConclusion
The Star Wars Character Browser demonstrates how modern web technologies can be leveraged to create engaging kiosk applications. By following the patterns and practices implemented in this project, developers can create robust, maintainable, and user-friendly kiosk applications. The combination of Next.js, TypeScript, and Kiosk Engine provides a solid foundation for building similar applications across different domains. Feel free to explore the complete source code at https://gitlab.com/kiosk-engine-io/star-wars-browser and use it as a reference for your own kiosk application development.