![Building a Self-Service Kiosk - Step by Step [full code]](/_next/image?url=%2Fimages%2Fblog%2Fkepos-installation%2Fblog_bg.png&w=2048&q=75)
How to Install and Activate kepOS: A Step-by-Step Guide
kepOS is a specialized operating system designed for kiosk applications, offering a streamlined and secure environment for public-facing devices. In this guide, we'll walk you through the process of installing and activating kepOS on your hardware. Whether you're setting up a single kiosk or managing a fleet of devices, these steps will help you get up and running quickly and efficiently.
Prerequisites
- A device compatible with kepOS
- An SD card or USB drive (4GB or larger)
- Internet connection for activation
Installation Steps
1. Download the ISO
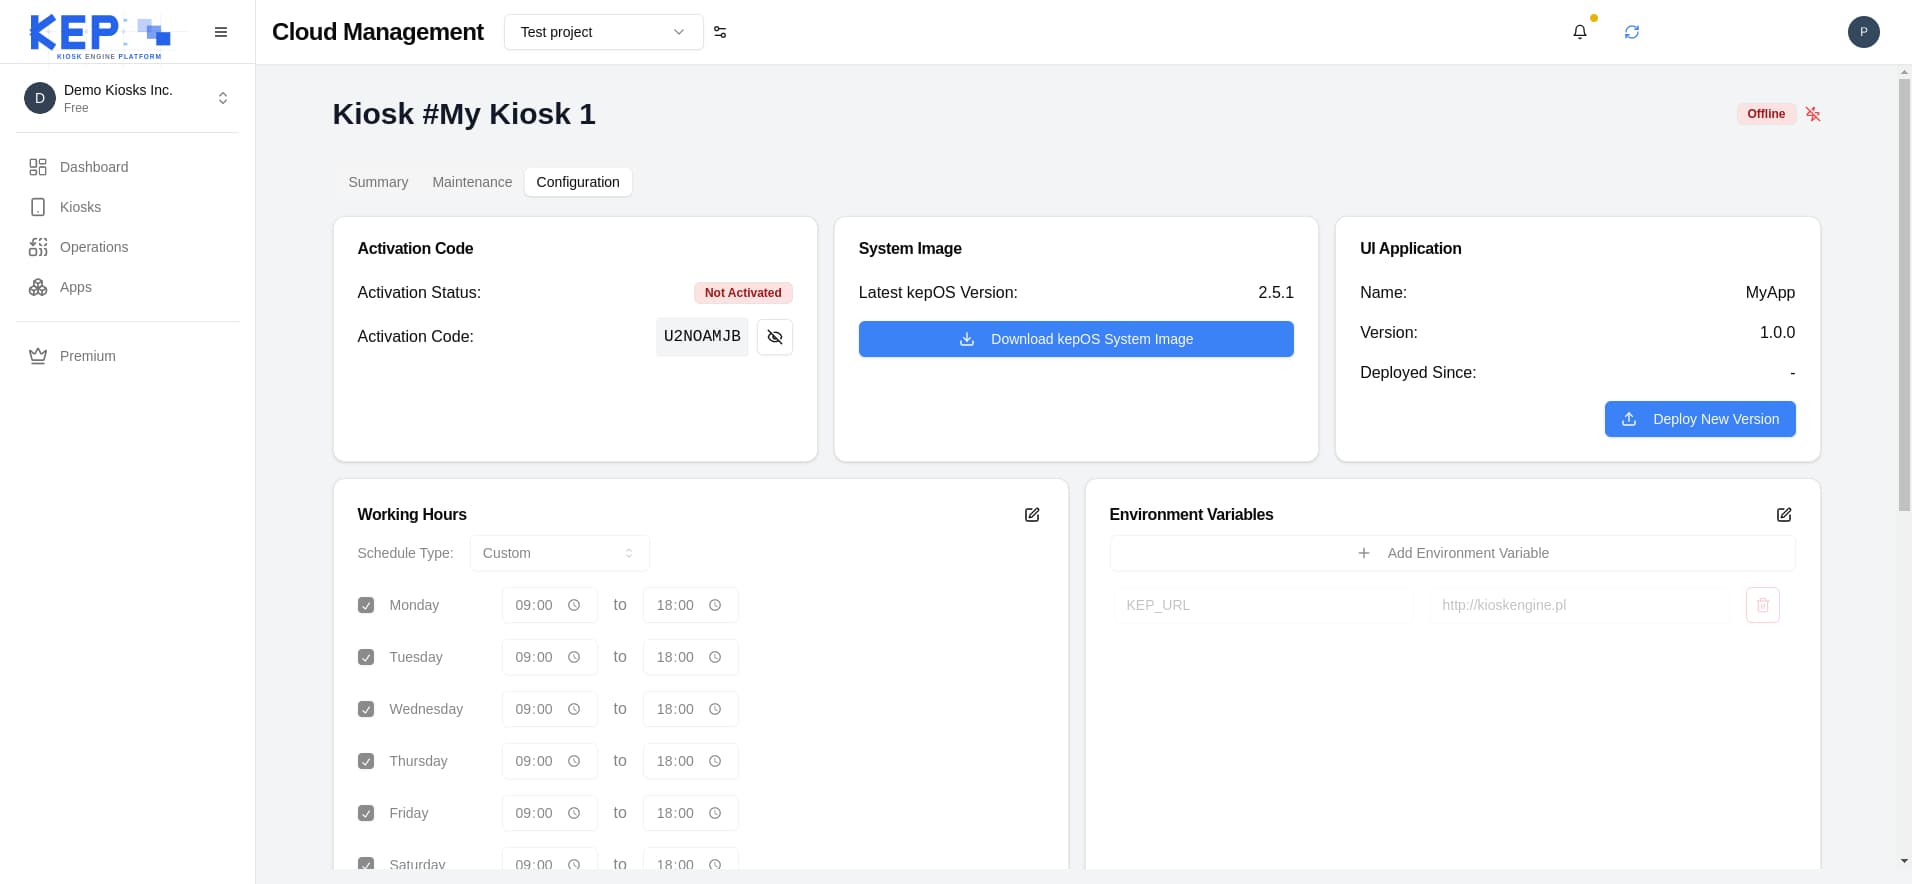
First, you'll need to download the kepOS ISO from the KioskEngine Cloud. Log in to your account at https://kioskengine.io, navigate to Kiosks -> Your Selected Kiosk -> Configuration, and locate and download the ISO file.
2. Create a Bootable Drive
To install kepOS, you'll need to create a bootable SD card or USB drive. You can use tools like Etcher (https://etcher.balena.io/) or Rufus (https://rufus.ie/en/). Follow the tool's instructions to flash the kepOS image onto your chosen media.
3. Boot into kepOS Configuration Panel
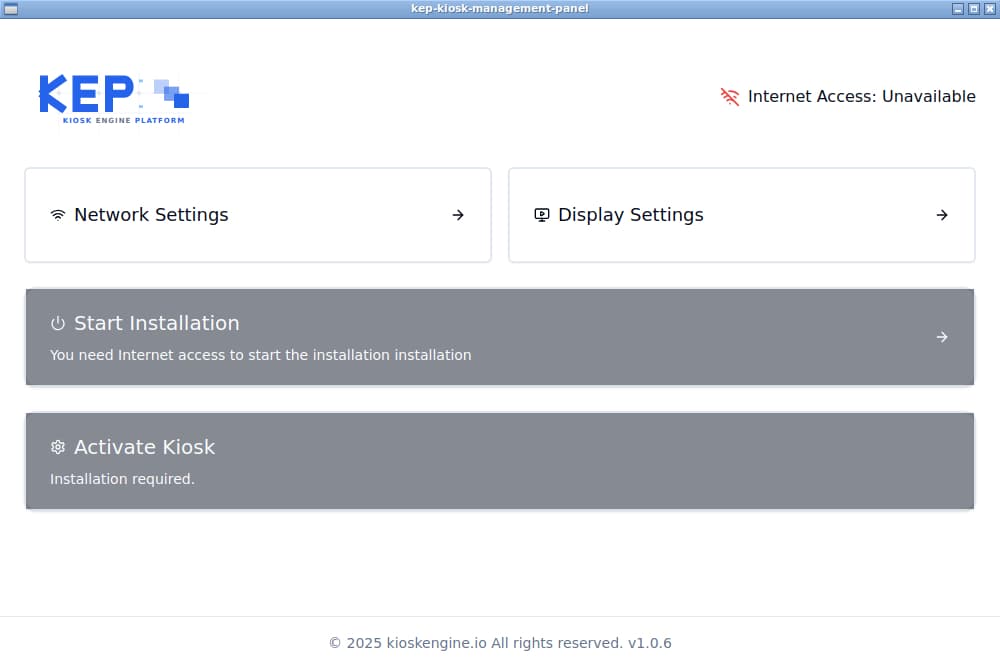
Insert your bootable media into your device and boot from it. You'll see the Kiosk Engine Configuration Panel.
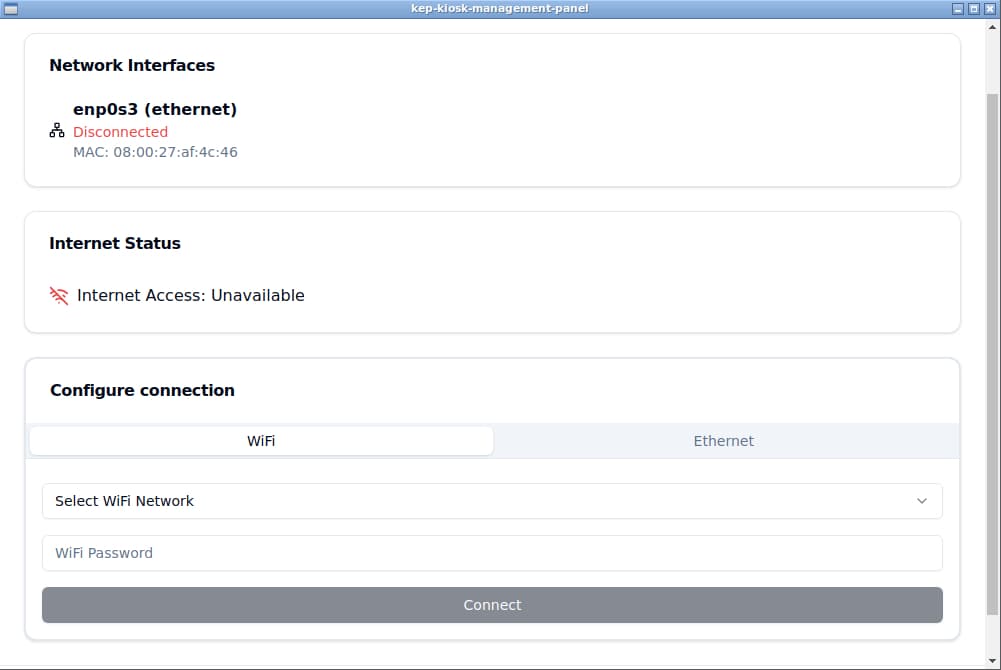
4. Configure Network Settings
Before installation, ensure you have internet access. Go to Network Settings and configure either Ethernet or WiFi connection.
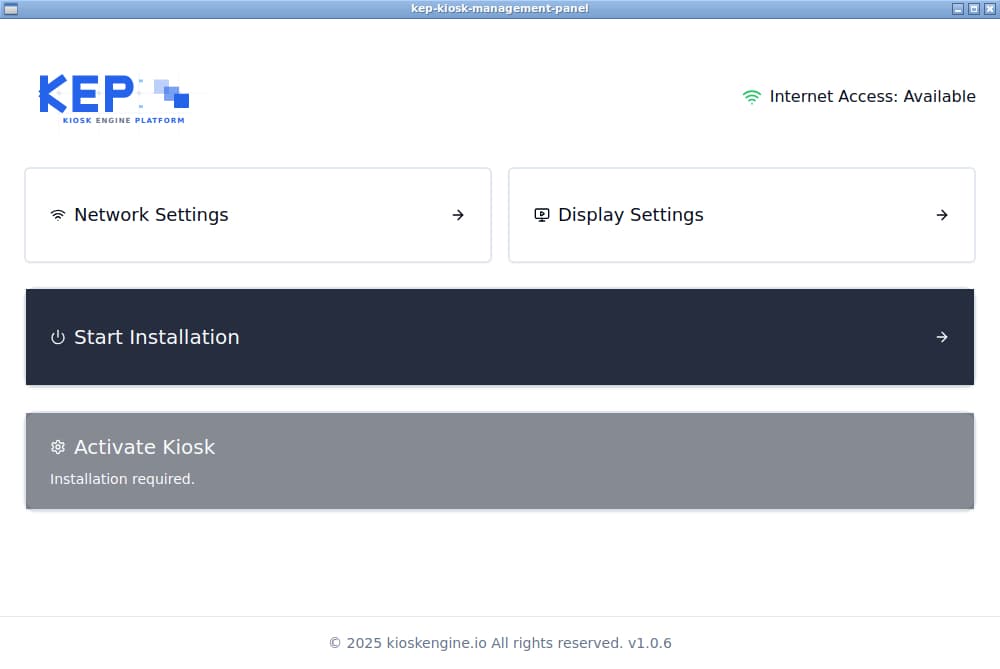
5. Start the Installation
Return to the home screen and click on "Start installation".
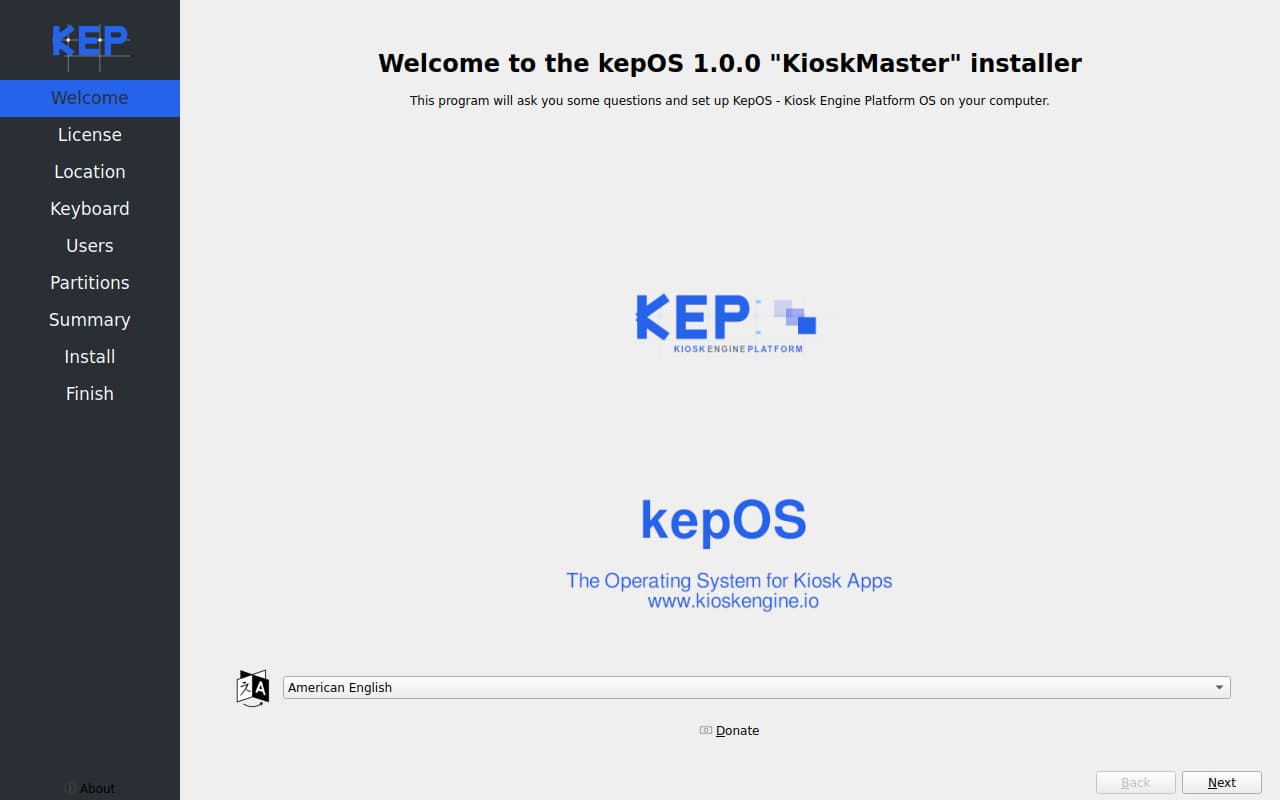
6. kepOS Installer
The kepOS installer will guide you through a few basic setup steps: Set your language, choose your keyboard layout, and select your location.
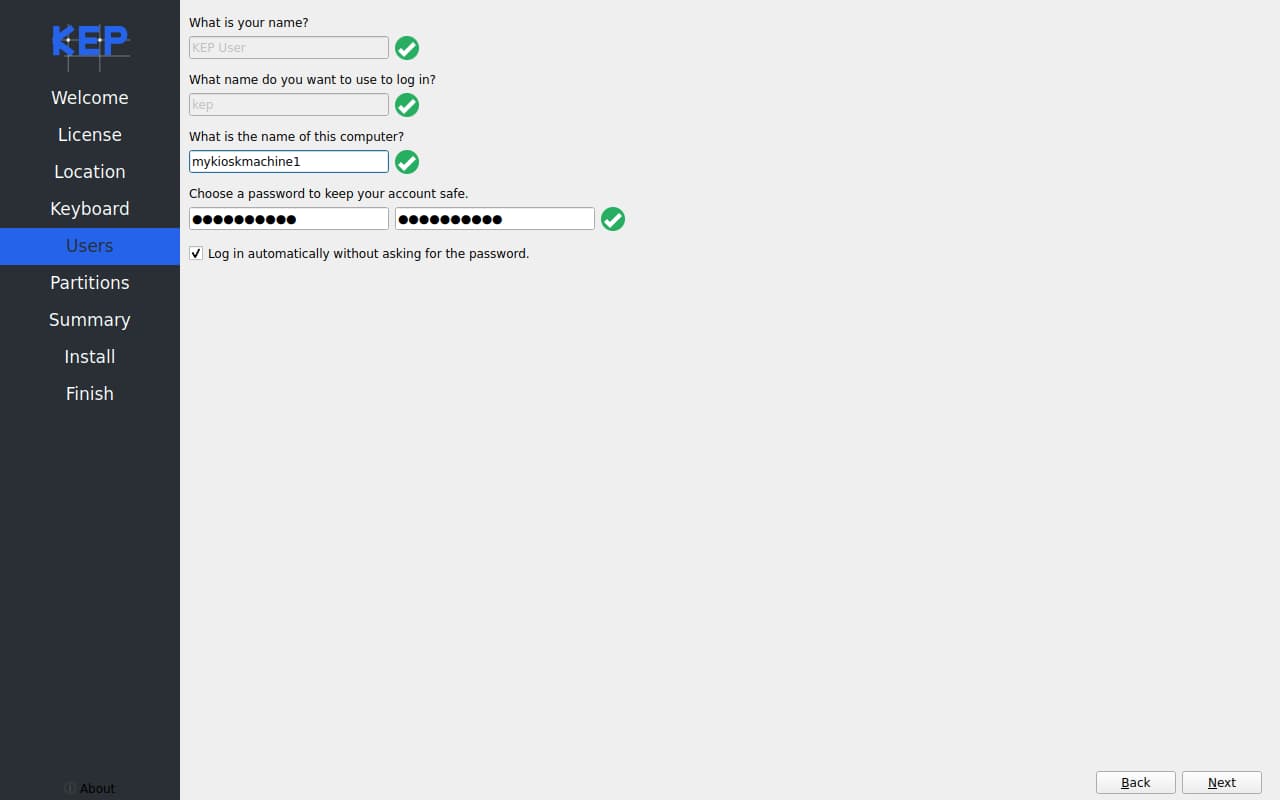
7. Set User Password
Create a password for the "kep" user. This password will be used in the installed system and is stored locally for security.
8. Disk Partitioning
Choose how to partition your disk. For simplicity, you can select "Erase disk", which will remove all existing data and install kepOS.

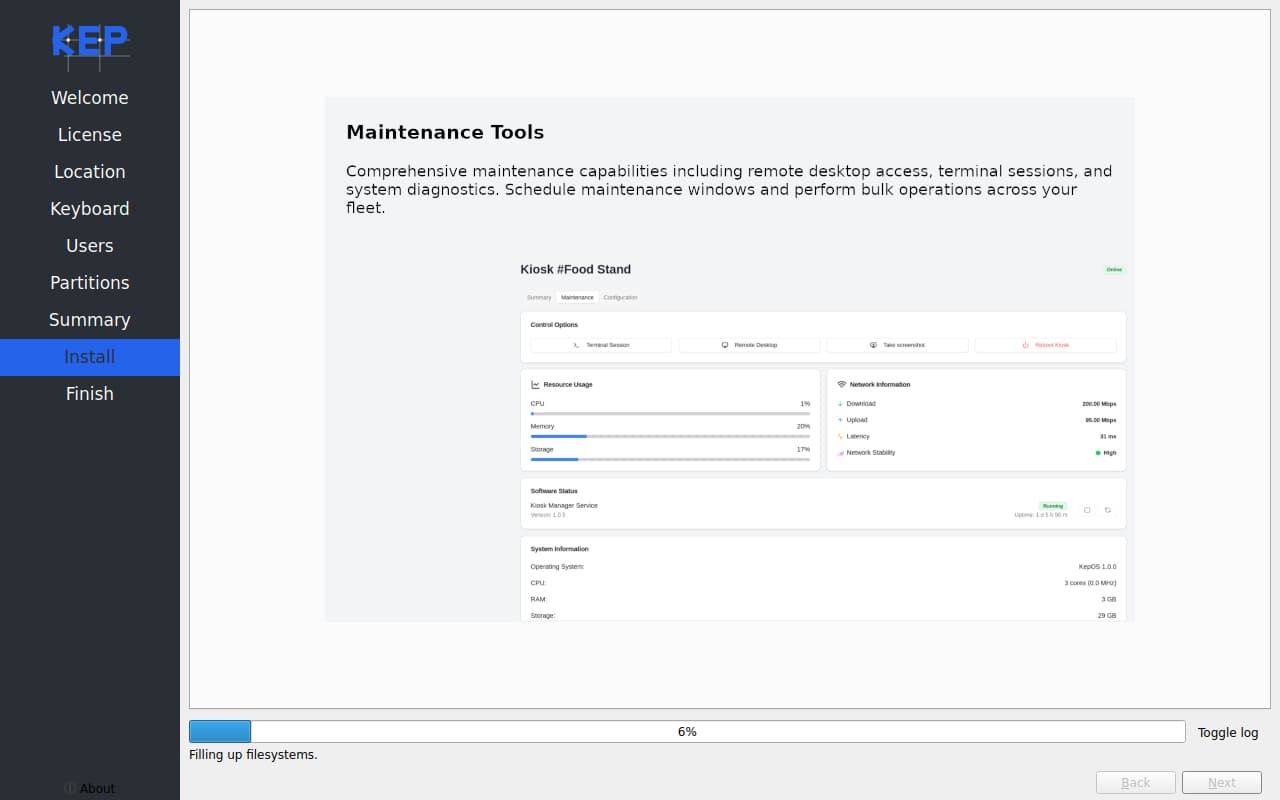
9. Installation Process
The system will now install kepOS. This process may take several minutes depending on your hardware.
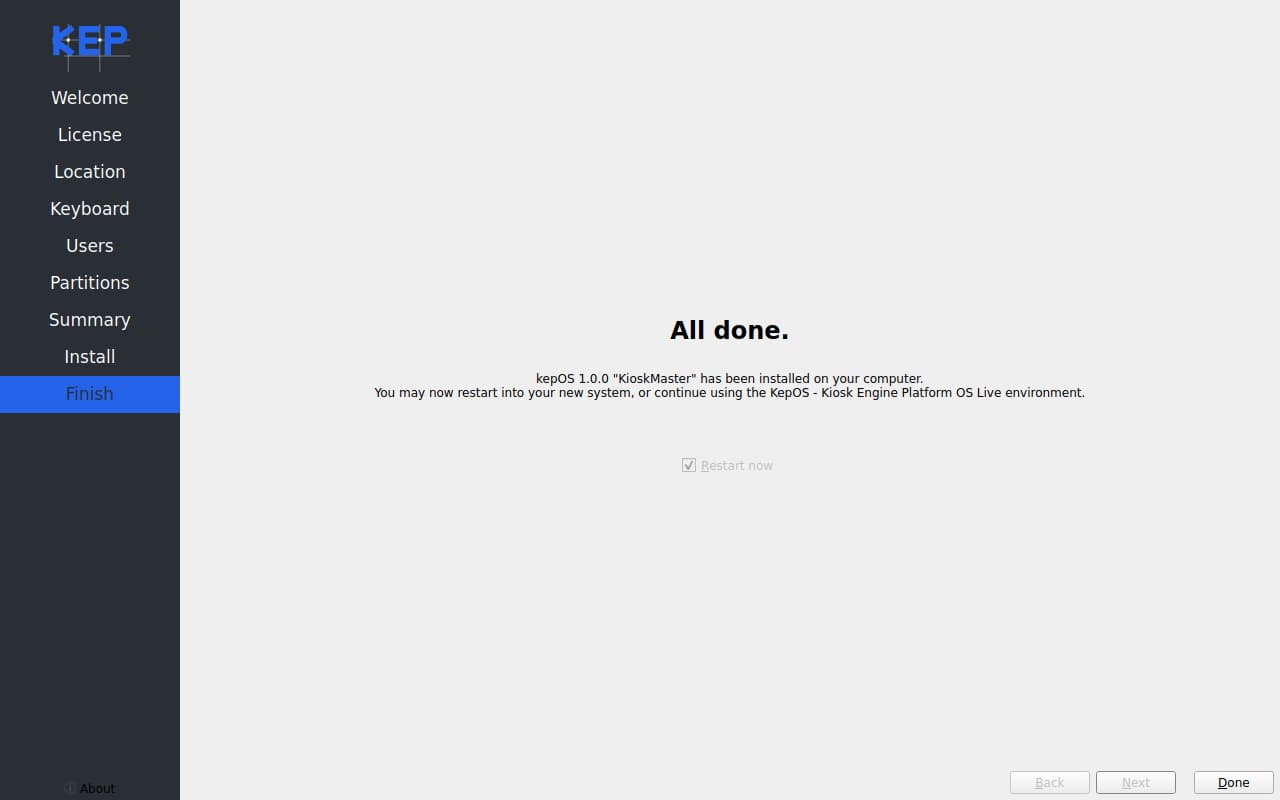
10. Completion and Reboot
Once installation is complete, click "Done". The system will restart.
11. Activate Your Kiosk
After rebooting, you'll see the Kiosk Engine Configuration Panel again. This time, the "Activate Kiosk" option will be enabled. Click it to proceed to the activation screen.
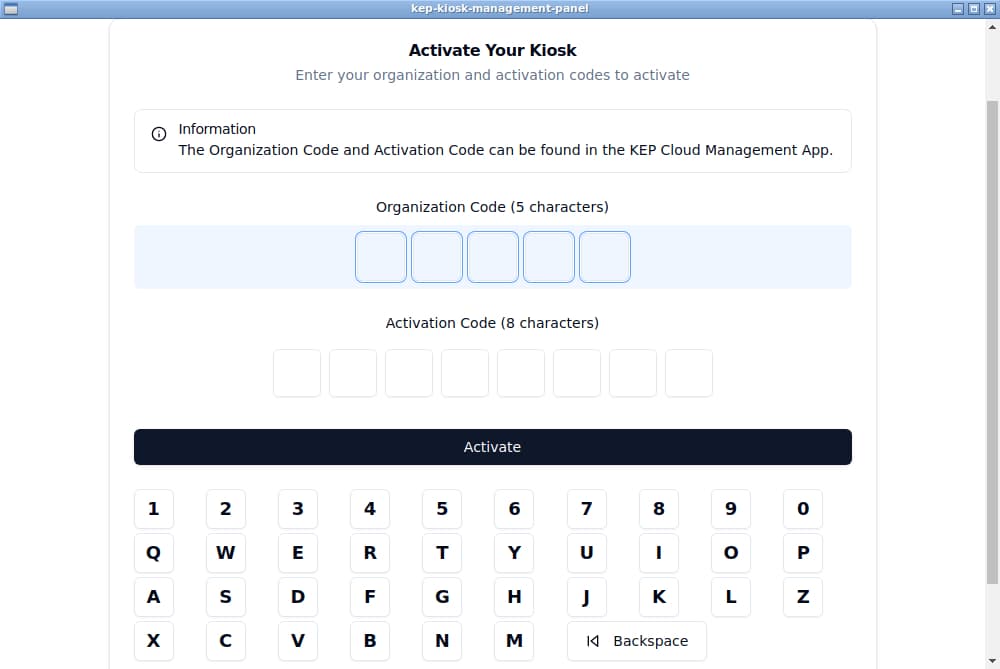
12. Enter Activation Credentials
You'll need to enter your Organization Code and Kiosk Activation Code. These can be found in your KioskEngine Dashboard.
13. Final Configuration
After entering correct credentials, the kiosk will begin its final configuration. This process should take only a few minutes, after which the kiosk will automatically restart.
Conclusion
Congratulations! You've successfully installed and activated kepOS on your device. Your kiosk is now ready for use with the KioskEngine platform. Remember to regularly check for updates and maintain your kiosk's security to ensure optimal performance. For more information and advanced configuration options, please refer to the kepOS documentation or contact KioskEngine support.